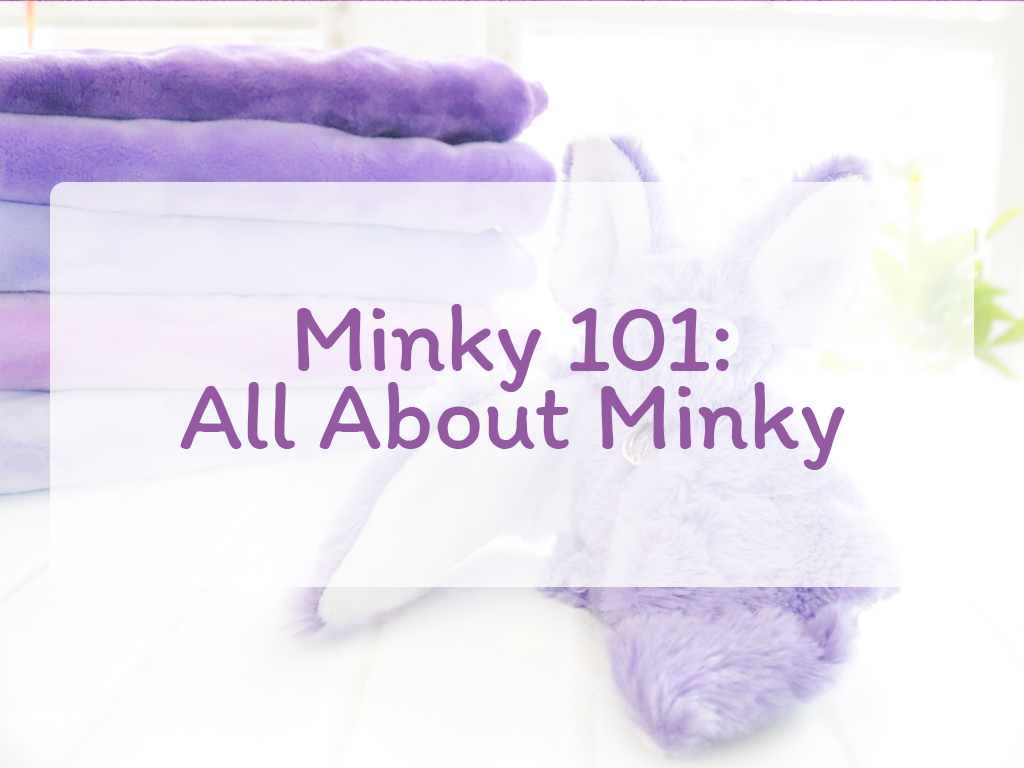

Minky 101: All About Minky
Minky 101: All About Minky
Just a note before we start, this article may contain affiliate links. If you purchase using an affiliate link, I may make a small % of those sales, but it doesn’t cost you any extra.
What is Minky
Minky is a 2 way stretch knit polyester fabric that is fluffy and soft. It’s most commonly single sided. It has a nap that is generally 1-3mm long, though there is a huge variety available. Which is a fancy way of saying it stretches when you pull horizontally but not vertically, it is fluffy and nice on one side and not the other, and the fur lays smooth in one specific direction. It’s known for being super soft which makes it great for plushies, but it’s also known for being annoying to work with. It’s a slippery and stretchy fabric that moves a lot when you’re trying to sew. It also sheds everywhere leaving lots of little fuzz pieces behind.
The most popular minky with plush artists is Shannon brand’s Cuddle 3 due to their high quality and large variety of colors. This is a 3mm smooth minky, but Shannon also makes dimpled and embossed minky, minky with prints, and longer pile minky. Another common brand to run into is Joann’s Soft & Minky line which has a shorter pile and is not as thick or stretchy. You may also find individual businesses which carry their own lines.
Minky may go by other names near you. It can be called microfiber plush, microfiber fleece, plush fabric, minkee, cuddle, cuddle soft, or other combinations of those words. Individual brands often have their own names for their lines of minky. In the UK a company which makes cleaning products owns the trademark for the word “minky” so stores in the UK cannot use the term minky. Commercially it is called soft boa, toy boa, or minky velboa. Although it is similar to velboa, velboa is more smooth and furlike vs the fluffy texture of minky.
Where to Buy Minky
Some fabric stores carry minky, but it’s not common and colors may be limited. In addition, they may carry their own store brand and the quality can vary. Most plush artists tend to stick with their preferred brand so all the fabric matches in appearance and they generally order online.
I have an entire blog post here on where to purchase minky including some sources for countries outside of the US.
I also recently partnered with Missouri Star Quilt Co for the month of July and followers can find a coupon code on Instagram for first time users.
How to Trace on Minky
I have another blog post here on how to mark on fabric in general, but minky can be a bit finicky. Since the back has a knit texture, any pointy tools can catch and pull the fabric, making it difficult to trace. As such, I recommend staying away from fine point pens.
It can also bleed through, so be sure to test a patch on the edge first.
My favorites are The Gel Roller for Fabric by Pentel for darker minky since this can show through on lighter fabric, the Madam Sew Heat Erasable Fabric Marking Pens for lighter colored minky, and the Uni-Ball Signo Gel Pen in White for dark fabric. I use the Dritz Disappearing Ink Marking Pen on the outside of minky.
It’s best to make sure your minky is totally flat when you are tracing because it is stretchy if you trace when it isn’t 100% flat it can end up distorted.
When tracing pattern pieces, you’ll need to make sure to hold them down so they don’t slide around. I like to print on cardstock so they are firmer and I just hold them in place with one hand, but you can also use tape or pattern weights.
If you need to make straight lines, use a straight edge that won’t slide. I like to use these simple cork backed rulers, but if you want to use a clear quilting ruler use a brand like this that has a nonslip coating or add nonslip grips to the back.
How to Cut Minky
Since minky is a polyester (meaning it’s made of plastic), it can dull your tools easily. It cuts best when your tools are sharp, so plan ahead to either have extra blades or sharpeners around.
Minky can be particularly frustrating to cut with scissors because it’s so slippery and stretchy. If your scissors aren’t sharp enough, especially, it will just shove the fabric forward instead of cutting it. It also stretches so trying to keep it taut can be difficult and can distort the fabric so you’re no longer cutting a straight line. Lower quality minky can also curl, especially when it is stretched or not cut with a sharp edge.
If you are working with a high pile minky like Shannon’s Luxe line, it’s best to use an X-Acto knife or a similar craft knife and carefully cut just the backing. If you cut into the fur itself, the shorter, cut fur can show on the seams and ruin the look of your project.
I primarily use a rotary blade and cut my minky on a cutting mat. It still slides a bit, but it’s much easier for me to manage. It might take some practice if you’re not used to using a rotary blade, but the results tend to be much neater and easier. I also use my Cricut when I can, there’s a post here with all that info.
Then there’s the FLUFF. Minky doesn’t really fray, but it does shed horribly. You will be finding the mess everywhere. It’s basically the glitter of the fabric world.
My biggest tip is to invest in a handheld vacuum. This is the one I use and it is a lifesaver, but if you’ve got a regular vacuum with a hose, you can drag that to your sewing area and use the hose for clean up. After you cut a piece out, run the vacuum along the cut edges to collect the fluff. Careful to hold onto the piece you cut so you don’t suck it up.
Some people put tape on the fluffy side of the minky when cutting. You can use painters tape, transfer tape, really anything that won’t leave a residue will work. When you cut, you’ll also cut through the tape and when you peel the tape off, it will take most of the fluff with it. Personally, I feel like this is too much extra work for me.
If you want to remove as much fluff as possible before sewing, you can throw all your minky into the dryer on low/no heat (remember, polyester = plastic and plastic melts with heat) and let it tumble for a bit. You don’t need a full drying cycle, just long enough to shake it all out. Clean your lint trap thoroughly afterwards to avoid a fire hazard building up.
Or if you live life on the wild side you can give it all a very vigorous shaking when you are done cutting. Preferably over a trash can, but realistically it’s going everywhere anyway. You can sweep or vacuum it up off the floor. This isn’t recommended for those with carpet, but you do you. This is my preferred method since I have a dedicated work space for all my fuzz.
Arm yourself with a lint roller for your clothes and your workspace when you are done. A damp cloth can also tackle the fluff easily as it won’t fly around when it’s wet and can be wiped up.
I recommend wearing a respirator or a mask like an N95 mask when working with minky if you have sensitive lungs or just don’t like breathing in fluff, especially the longer pile luxe minky which is very fine and silky and will stick to your skin and face.
How to Sew Minky
Successfully sewing minky is all about fighting back against its ability to slide all over the place.
One of the best methods to do this is to use lots of pins. You’ll want to pin at least every inch, if not more. Don’t sew over the pins, but don’t remove them too far in advance, you want them holding the fabric together as long as possible. You can also use sewing clips, though I prefer pins.
You can also baste the fabric before sewing. Basting is any technique you use to temporarily hold layers of fabric together before the final, permanent sewing. With plushies, I like to do a basting stitch by hand to hold them together. This is just a long, loose running stitch around the edge that can be easily removed later. You can also purchase basting tape. This is essentially just double sided tape, but it’s important to get a kind that won’t stick to your needle and gum up your machine and can be easily washed out without leaving residue so stick to tape made specifically for sewing. You can also use a basting glue which can come in a bottle , stick, or spray form.
Another great way to reduce slipping is to use a walking foot. The way a sewing machine works, the presser foot is pushing down on your fabric and the feed dogs below are gripping and pulling your fabric through.The top fabric relies on its grip with the bottom fabric to move. With a slippery fabric like minky, though, the two layers slide against each other instead so they don't feed evenly through the machine. Over the length of an entire seam, these small differences will result in your fabric not meeting evenly at the end or curling as it is stretched and moved in different directions.
A walking foot adds a second set of feed dogs to the top of your fabric. They pull and grip it through at the same rate as the bottom fabric for a more even feed. Systems like Pfaff’s IDT system work the same way.
If a walking foot isn’t an option for you, reducing the friction between the top layer of the fabric and the presser foot can help, too, as the force of it pushing down can sometimes hold the top layer in place. A teflon presser foot has a layer of slick non-stick which can allow the fabric to move through the machine easier. I also know some people put clear tape on the underside of their presser foot to add a slick surface if it’s not teflon. If you can adjust the amount of pressure your presser foot is using to have less pressure, this can help as well. This option will depend on your machine’s features.
Play with your stitch length as well, I recommend using a longer stitch for minky. I generally use a 3mm or 3.5mm stitch length.
The needle you use for minky matters, too. Most places recommend a 90/14 stretch needle for minky fabric, though you may need a bigger size of needle if you are going through multiple layers. Stretch needles are specifically designed to help sew on knit fabric (which minky is) and will reduce issues like skipped stitches, uneven stitching, and broken threads. Make sure you are using a sharp needle, dull needles will start to cause problems.
Unfortunately even when you do everything “right” you may still have difficulty sewing with minky and that’s where the boring recommendation for practice comes in. The more you practice with minky, the more you get a feel for it.
Cleaning up After Minky
We’ve already addressed the fuzz situation and how to control it and after sewing, you’ll likely need to do another pass of your sewing space and yourself to clean it up. You’ll also want to lint roll your finished project.
I wanted to add a special section to remind you to clean out your sewing machine regularly when using minky. It can collect inside the machine itself so you’ll need to make sure it gets brushed out or take it to be serviced if you don’t feel comfortable cleaning itself. All the fluff tumbleweeds can cause issues when they start to pile up and it will need to be cleaned more often than if you are used to using low shedding fabrics.
Minky will also dull needles faster since it’s polyester so you may wish to change your needle after each project, depending on how much you used it.
How to Care for Minky Items
Minky doesn’t do well with high heat so when you are caring for your finished projects, it’s important to keep this in mind. If you need to iron them, use a low setting appropriate for polyester and use presser cloth between the iron and the minky to avoid ruining the nap.
If your minky is embossed like a dimple minky, ironing it can ruin the embossing, so take care.
Steaming tends to work well for minky to remove wrinkles since the heat isn’t as direct, but again, be careful with it as it can melt the fabric if it gets too hot and it can ruin embossing.
If you need to wash minky you should do so with cold water and low to no heat. After washing you may wish to brush with a soft bristle brush to smooth the minky out again. Do not use fabric softener as it can leave a crusty feeling residue on minky.
Hope this helps you tackle your next minky project!
